
How a project runs
Eight stages. You see all of them.
Most of what makes a tiled room last happens before there is any tile to look at. This is the whole sequence, including the parts that end up behind the wall.
- 01
The visit
I come to the house, usually within a few days of your call. I look at the room, measure, run the shower, look under the sink, and — if there is a way to tell — look for what is behind the tile. Twenty to forty minutes.
You get my honest read on the spot: what I would do, what I would not, and what I think it will cost. If something needs a plumber or an electrician, I say so then.
- 02
Scope and price
Within a day or two you get a written scope, line by line, with a fixed price and a schedule. It lists what is included and what is not, so there is no conversation later about what "bathroom" meant.
It also tells you how much tile to order and when. You buy the tile; I tell you the overage so you only buy once.
- 03
Demolition and protection
Floors and the route to the door get covered. Dust barriers go up. Then everything in the wet area comes out — tile, backer, sometimes the framing — because you cannot waterproof over a surface you cannot trust.
If I find rot, a leak, or a floor that is not what it looked like, I stop and photograph it, and we agree the fix and the cost before I continue.
- 04
Substrate
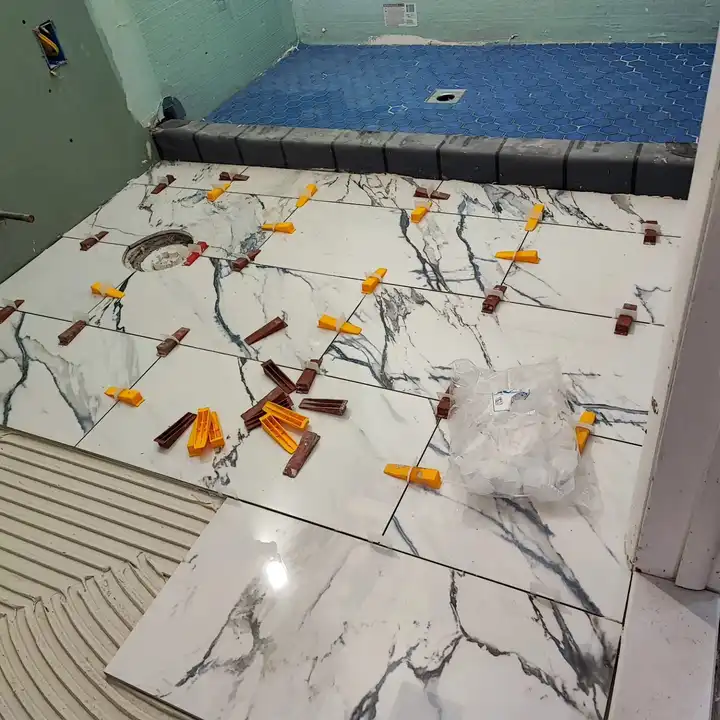
Framing checked and straightened. Cement board on wet walls, screwed and taped. Floors screwed down, levelled where they dip, and covered with a decoupling membrane on wood.
This is the stage that decides whether a floor cracks in three years. It is also the stage nobody sees, which is why I photograph it and send it to you.
- 05
Waterproofing
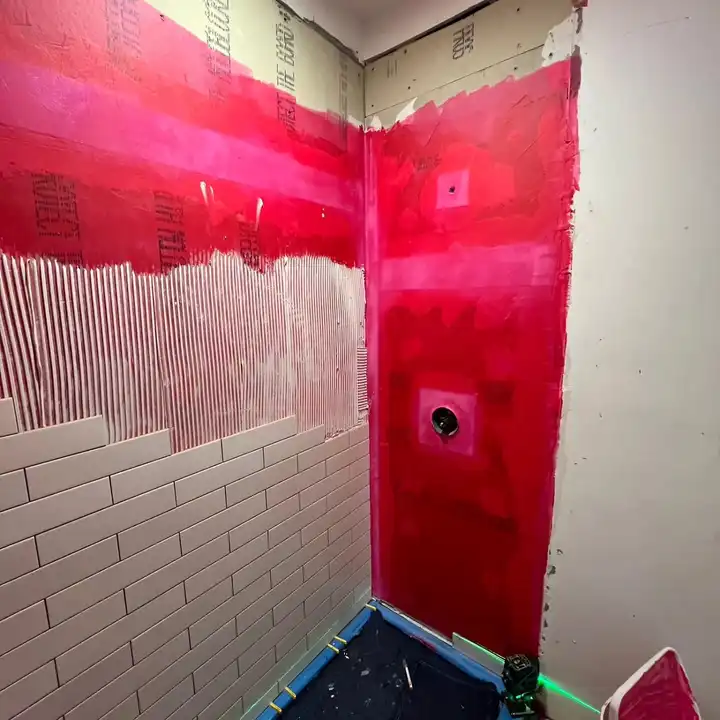
A continuous waterproof layer over the whole wet area: walls, niche, bench, curb, pan. Seams lapped and sealed. Corners banded. The pan gets plugged and filled with water, and I come back the next day to check the level.
If it held, we tile. If it did not, we find out now rather than through your ceiling.
- 06
Layout and tile
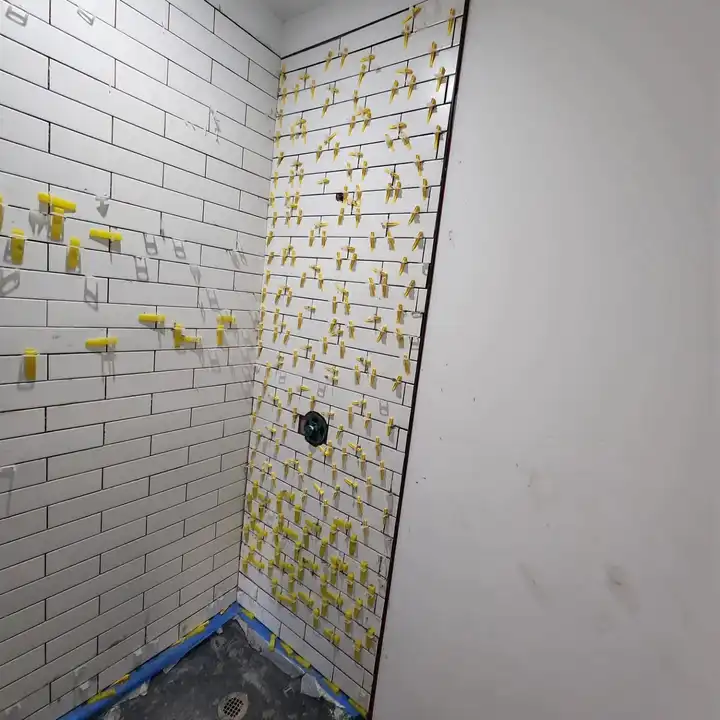
The layout is decided on the floor and the wall before the first cut — full tiles where you look, cuts where you do not, no slivers. Then setting: back-buttered, full coverage, levelled edge to edge.
Cuts around valves, outlets and corners are made so the trim lands on tile at every edge.
- 07
Grout, seal, cure
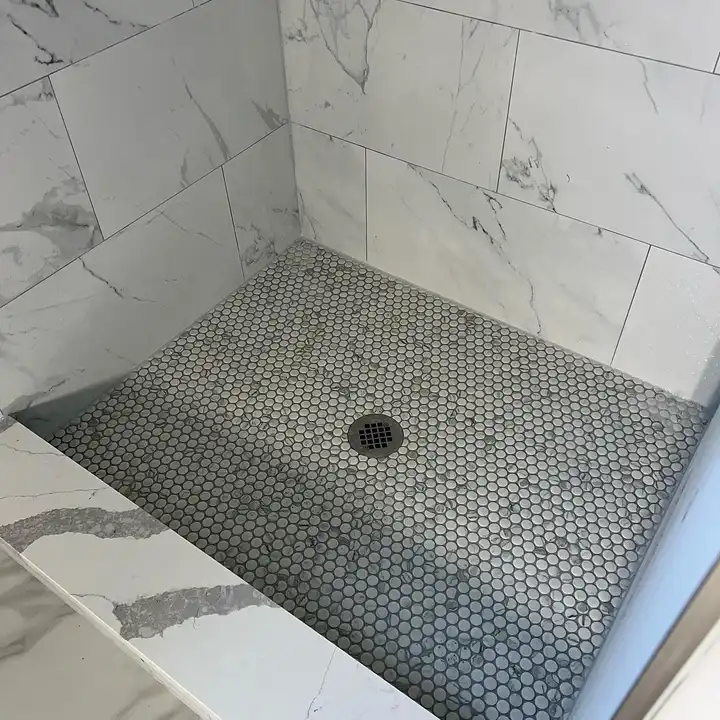
Grout goes in, gets cleaned, and gets its cure time. Silicone — not grout — in every inside corner and everywhere tile meets something that moves. Stone gets sealed.
Nothing gets screwed into the wall until the grout has cured. Patience here is what keeps the corners from cracking.
- 08
Fixtures and walk-through
Trim, glass, shelves, toilet, vanity, mirror — set, levelled, sealed. Then we walk through it together. I show you the photos of what is behind the tile, leave you the spare tile and the grout colour, and clean up.
After that you have my number. Same-day reply, seven days a week.
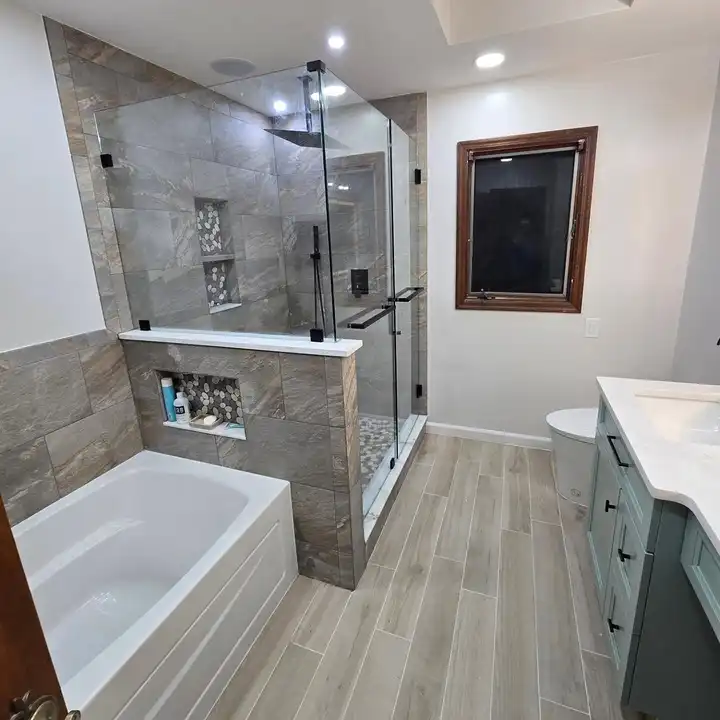


Why the photos
Proof, not promises
Every job gets a set of photos of the substrate and the waterproofing before tile covers it, sent to you the day they are taken.
If you ever sell the house, hand them to the buyer. If you ever have a problem, hand them to me. Either way, you are not taking anyone's word for what is behind the wall.

Ready for step one?
The visit is free and it does not commit you to anything. Or start with a price range.